I know this DIY isn't everyone's cup of tea, but I personally LOVE it and thought I'd share in case anyone else is equally enchanted with medical imagery.
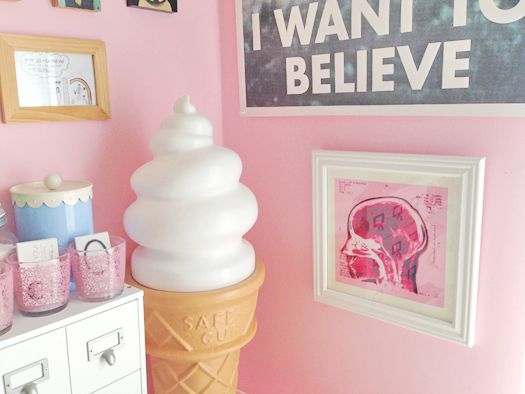
First a little back story -- In 2005 I was getting crippling migraines, so my doctor ordered an MRI of my brain. After a super scary couple of weeks in between my doctor saying she thought I had a brain tumor and a specialist telling me I didn't (PHEW) I was left with some incredibly cool images of my brain. I've always wanted to find a way to turn them into artwork, but couldn't really figure out how. I also didn't really want to have super dark pictures on my walls, and these images are always mostly black. I finally worked this out a couple weeks ago and now I'm trying to talk my (super reluctant) family to do a really unique family portrait wall. haha!
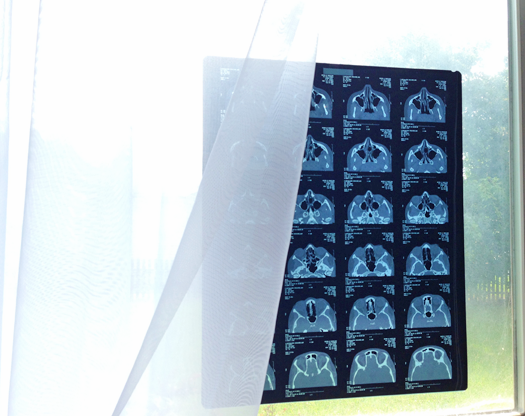
Okay, so the first thing you need is a medical image. Basically MRIs, X-Rays, CT scans, etc. If you have a printout (like an ultrasound) you can skip this step, which helps to capture the negative image. Just hold it up to a light source, like a window or a lightbox, and take a close-up photo. This highlights all of the details that you normally can't see on the negatives sheet.
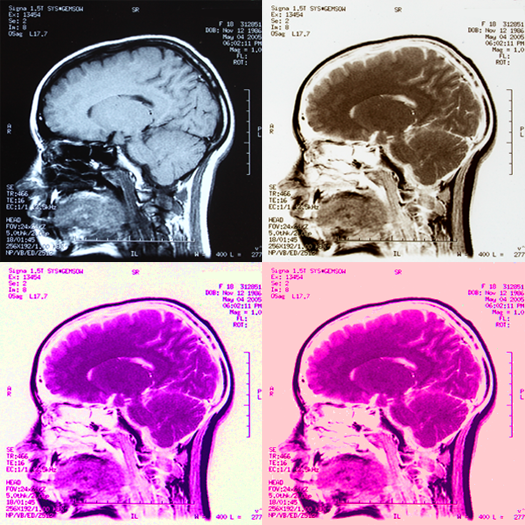
When you open the image on your computer, it should look like the first image here, with a dark background. You want to invert the colors, so that the background becomes light. I used photoshop, but you can invert colors in a bunch of different programs, even MS Paint! If you aren't sure how to do it in a specific program, just try googling "invert colors [program name]" :)
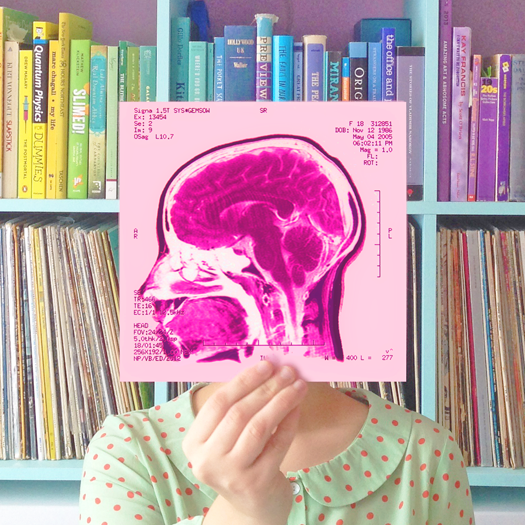
Now this is where you can start getting creative! I played around with the hue/saturation controls to get a really bright purple image. You can even do hue/saturation in Preview on a mac. Just drag the controls until you find the colors that you like best. After I settled on hot pink, I used the Fill tool in photoshop to fill in the background with a light pink color. You could always do this part manually, printing out your image, cutting it out, and then mounting it on a colored paper background! Another idea, if you don't have access to photo editing programs, would be to have the image inverted and then printed on bright colored paper at Staples or Kinkos!
I really wanted artwork that showed my whole head, but maybe you want a more discreet way of showing off your inner beauty? ;) Simply crop the image to create a really cool abstract art piece. Here I used a close-up from a CT scan of my sinuses.
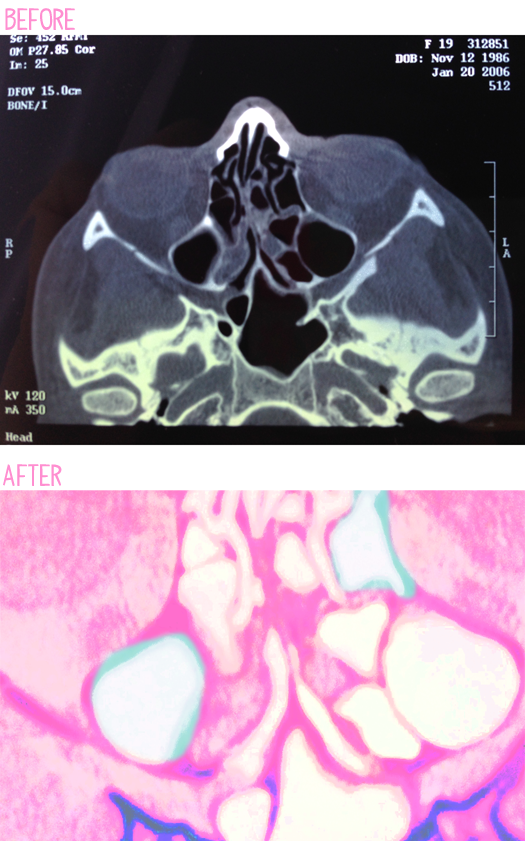
If you have photoshop or a similar program that allows you to select specific parts of your image, you can change the colors in sections, instead of the whole image. Here I selected two little areas in the pink and then dragged my hue/saturation control so that the colors would be teal instead.
Like I said, I know it's not for everyone. Personally, I'm absolutely fascinated by images like this. I mean, my brain is processing the fact that I'm looking at a picture of my brain. That's so awesome to me!!